Create a person
Introduction
In the Client Service Portal you have the ability to create new clients in the system so that you can open products for them or service their relations. This section describes the steps to create a new person in the portal, although client can refer to both persons and companies.
A person is represented by a set of standard data fields (e.g., name, birth date, e-mail address) that are available by default in °neo. However, °neo also gives you full flexibility to define which data fields are mandatory, or to create additional custom fields that better align to your business needs. This configuration of person data can be managed in the Configuration Portal, where you can define the required data fields and custom fields. More information can be found on this under the Configuration Portal > Configuration items section.
Create person
To create a new person, you start from the Dashboard homepage of the Client Service Portal.
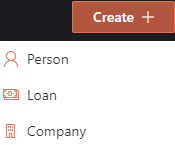
From the Dashboard, you click on 'Create' and select 'Person'. This will bring you to a ‘Create Person’ page.

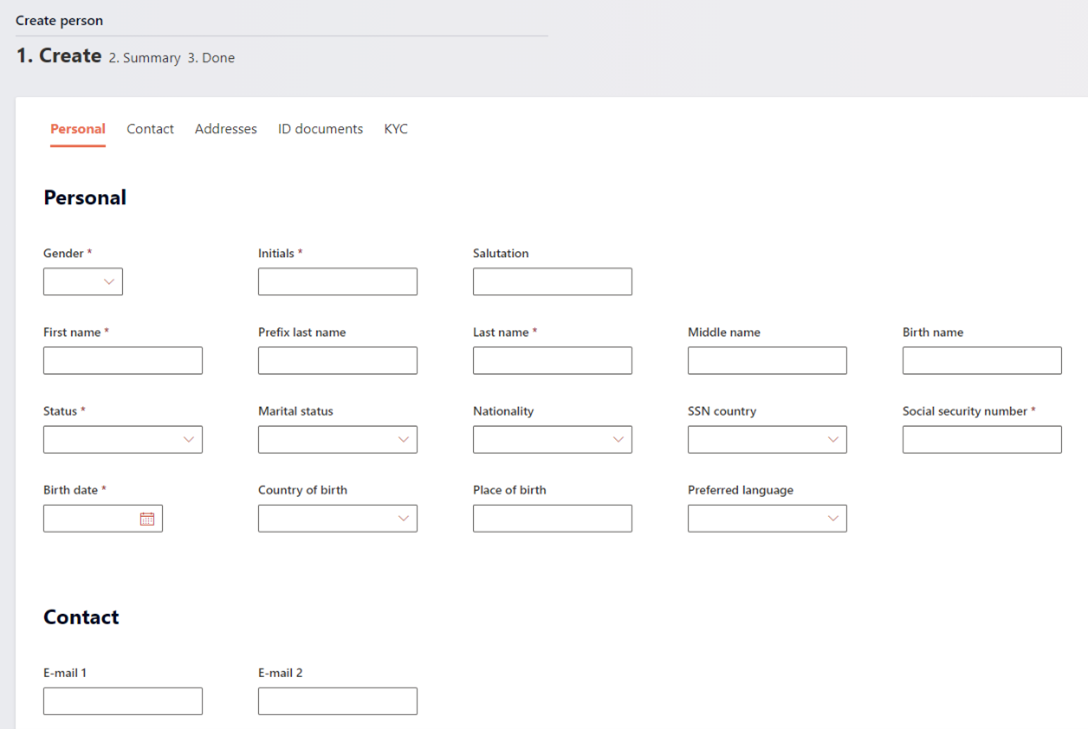
On the Create Person page, you will need to fill in all the necessary information for the person you are creating. The necessary information is clearly labeled and divided into individual fields. Any mandatory fields are flagged with a red asterix.

The selection of mandatory fields is flexible and can configured in the Configuration Portal .
In addition to the mandatory fields, the Create Person page also has built-in validation on some fields, which are listed in below table.
| Field | Check |
|---|---|
| Social security number | If the selected SSN country=Netherlands, °neo checks that the entered Social security number is according to Dutch standards. |
| °neo checks on a valid e-mail syntax. | |
| Birth date | °neo checks if Birth date is in the past. |
Once you have populated all the necessary information and you can click the 'Next: summary' button, and a summary page is displayed for you to review all the data prior to completing the ‘Create Person’ process. If you find any mistakes, you can simply click the ‘Previous’ button at the bottom of the page to edit it.
If all the information is reviewed and correct, you can click ‘Confirm’.
The next steps of the ‘Create Person’ process depends on the configuration of the ‘Create Person’ process in the Configuration Portal . After clicking ‘Confirm’ either the Person will either be automatically created, or an Approval Task will be created for a second user to review & approve the creation (4-eyes task). More information on Approval Tasks can be found under Task Management.
The person is created and can now be found in the Client Service Portal by using the Search Box.
Updated 26 days ago